

Quick Summary
The best wireless mouse for graphic design is one with accurate tracking, a shape that fits your hand for long sessions, and a stable connection. Use a 2.4 GHz model for the steadiest precision, and set DPI between 400 and 1,600 depending on the task.
- Measure your hand length and width, then match them to a mouse body length.
- Turn off pointer acceleration so cursor movement stays consistent for precise strokes.
- Start at 800 DPI for detailed work and raise it for large canvases.
- Use a 2.4 GHz connection for precision work, and Bluetooth when switching between devices.
- Test any new mouse for a full week on real projects before deciding.
Table of Contents
- What a Graphic Designer Needs From a Wireless Mouse
- Mouse DPI for Graphic Design: Picking the Right Sensitivity
- Bluetooth vs 2.4 GHz Mouse: Which Connection Suits Your Workflow
- Programmable Mouse Buttons for Design Shortcuts
- Ergonomic Mouse for Graphic Design: Hand Size, Grip and Wrist Comfort
- Step-by-Step: Testing a Mouse Before You Commit
- Pairing Your Wireless Mouse With the Dabbous Range and Next Steps
- Frequently Asked Questions
What a Graphic Designer Needs From a Wireless Mouse
Last Updated: November 5, 2026
Choosing a wireless mouse for graphic design comes down to three things: precision, comfort, and reliable connection. Most designers spend six or more hours a day holding a mouse, so small differences in fit and sensitivity add up fast. Occupational health guidance on repetitive strain from prolonged computer use

Start with the work you do most. Vector illustration and retouching need fine, steady control; layout work involves long stretches of dragging objects across large canvases.
Here is what matters most in practice:
- Accurate tracking on the surfaces you use, including your mouse pad
- A shape that fits your hand for long sessions
- Stable wireless connection with no lag during precise drags
A simple, comfortable wireless model like the LOGITECH M170 Wireless Mouse GREY is a sensible place to start. It is priced at LBP 12 and suits everyday design work.
Mouse DPI for Graphic Design: Picking the Right Sensitivity
DPI (dots per inch) measures how far the cursor moves per inch of physical movement. Higher DPI means faster cursor travel; lower DPI gives finer control. But DPI alone does not decide precision, pointer acceleration and screen resolution matter too. A 4K monitor at 1,600 DPI feels very different from a 1080p monitor at the same setting.
A step-by-step sensitivity framework
Use this sequence to arrive at a working sensitivity instead of guessing:
- Set your operating system pointer speed to the middle notch. On Windows, open Settings > Bluetooth & devices > Mouse and leave the slider at the sixth of eleven positions. On macOS, open System Settings > Mouse and leave Tracking speed at the midpoint.
- Disable pointer acceleration if your mouse software allows it. Acceleration breaks the muscle memory you rely on for consistent strokes. Turn off "Enhance pointer precision" on Windows; on macOS, third-party tools can flatten the acceleration curve.
- Start at 800 DPI for detailed work. Most designers doing retouching, vector node placement, or mask painting find 800 DPI comfortable on a 1080p or 1440p display.
- Raise to 1,200-1,600 DPI for large canvases. If you work on wide artboards, multi-monitor setups, or long timelines, a higher setting reduces the number of lifts needed to cross the screen.
- Lower to 400-600 DPI for pixel-level work. When placing anchor points or painting fine masks, a lower setting gives you more physical room per pixel of cursor travel.
Test on real design tasks, not a blank desktop
A sensitivity that feels fine on the desktop can fail on a real project. Run these four checks in your design application:
- Anchor-point placement: Draw a straight path with the pen tool and place five anchor points along it. If you overshoot the line, lower the DPI; if you run out of desk space, raise it.
- Fine selection: Use the lasso or marquee tool to select a small object. Consistent overshoot means the setting is too high.
- Canvas panning: Pan across the full artboard. If you need more than two lifts to cross it, raise the DPI or reduce canvas zoom.
DPI is only half the precision story
Two wireless mice at the same DPI can feel different because of polling rate and sensor behavior. Polling rate is how often the mouse reports its position: a 125 Hz mouse reports every 8 milliseconds; a 1,000 Hz mouse every 1 millisecond. A higher polling rate produces a smoother cursor path but drains the battery faster.
Watch out: very high DPI settings (above 3,200) often introduce visible jitter on design work because the sensor amplifies small hand tremors. If your cursor shakes when you hold still, lower the DPI before you blame the mouse.
Match the setting to your software
Different applications respond differently to the same pointer settings:
- Vector illustration: A moderate DPI (800-1,200) with acceleration off gives predictable node placement. Map a button to zoom so you can switch between overview and detail without changing DPI.
- Photo retouching: A lower DPI (400-800) plus a high polling rate suits brush and mask work. Some applications have their own smoothing setting that interacts with pointer speed, so test both together.
- Layout and page design: A higher DPI (1,200-1,600) reduces the travel needed to move between panels and across large pages.
Record your final settings somewhere you can find them. When you change mice or reinstall software, you will want to restore the same DPI, polling rate, and acceleration state.
Bluetooth vs 2.4 GHz Mouse: Which Connection Suits Your Workflow
Bluetooth mice connect directly to your computer without a dongle, which keeps your USB ports free.
For precision design, a 2.4 GHz connection is the safer choice. It handles fast strokes with less delay. Bluetooth works well if you move between several devices and want the simplest setup.
The WIRELESS MOUSE from Dabbous Mega Supplies is priced at LBP 5.

The two connection types differ in ways that matter for precise design work.
| Connection | Best for | Key difference |
|---|---|---|
| 2.4 GHz | Precision design | Usually steadier, lower-latency connection |
| Bluetooth | Switching between several devices | No dongle needed, keeps USB ports free |
Programmable Mouse Buttons for Design Shortcuts
Programmable buttons let you assign tasks such as undo, brush size, or zoom to a single click. This saves keyboard trips and speeds up repetitive edits.
Map only the actions you repeat often. Too many custom buttons becomes hard to remember.
LOGITECH M170 Wireless Mouse GREY →
Watch out: a mouse with more buttons is not automatically better. If the extra buttons sit where your thumb rests naturally, you will press them by accident during drags.
Ergonomic Mouse for Graphic Design: Hand Size, Grip and Wrist Comfort
Most mouse-fit advice stops at "pick a comfortable shape." That is not actionable. A better approach is to measure your hand, identify your grip, and match both to a mouse body.
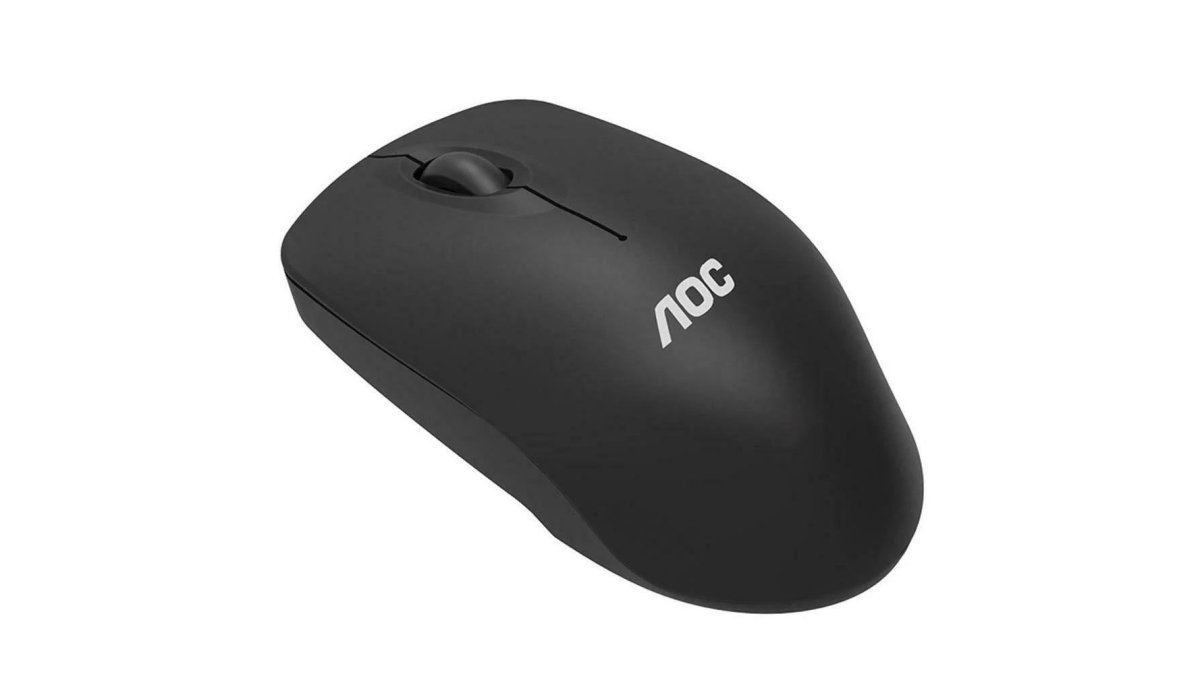
Measure your hand before you shop
Two measurements narrow the field quickly:
- Hand length: Measure from the base of your palm (the crease where your wrist bends) to the tip of your middle finger. Under 17 cm is a small hand, 17-19 cm is medium, and over 19 cm is large.
- Hand width: Measure across the widest part of your palm, usually just below the knuckles. Under 8.5 cm is narrow, 8.5-10 cm is average, and over 10 cm is wide.
Write both numbers down. Product listings rarely publish hand-size ranges, but they do publish mouse length, width, and height, and you can compare those against your measurements. A mouse length close to your hand length suits a palm grip; a shorter body suits claw and fingertip grips.
Identify your grip, honestly
Grip style is how your fingers and palm contact the mouse during work, not how you hold it when posing for a photo. Watch your hand during a real editing session:
- Palm grip: Your palm rests on the back of the mouse and your fingers lie flat on the buttons. This suits larger hands and long, smooth movements, reducing finger fatigue but limiting fine wrist adjustments.
- Claw grip: Your palm touches the back of the mouse but your fingers arch over the buttons. This suits medium hands and mice with a pronounced hump.
- Fingertip grip: Only your fingertips contact the mouse. This gives the fastest small adjustments but tires the fingers and wrist during long sessions. It suits small hands and compact mice.
A common pattern is that designers switch grips mid-session, palm for layout work, claw for detail work. If you do this, choose a mouse that supports both rather than optimizing for one.
Match shape to grip and hand size
- Large hands, palm grip: Look for a mouse at least 12 cm long with a tall, rounded back that fills your palm.
- Medium hands, claw grip: A mouse around 11-12 cm long with a defined hump gives your palm something to anchor against.
- Small hands, fingertip grip: A compact mouse under 11 cm long keeps the buttons within reach without stretching.
Consider alternative designs
A conventional mouse is not the only option, and for some designers it is not the best one:
- Vertical mice: These rotate your hand into a handshake position, reducing forearm twisting. They suit designers with wrist discomfort but demand a learning period.
- Trackballs: A trackball keeps your hand stationary and moves the cursor with a ball under your thumb or fingers. This eliminates arm travel, which helps in cramped workspaces, but precise drags take practice.
- Drawing tablets with a mouse mode: Some designers use a pen tablet for everything, including cursor movement. This removes the mouse entirely but changes your workflow significantly.
Test comfort over a full session, not five minutes
A mouse that feels fine in the shop can cause discomfort after two hours. Use this checklist during your first week:
- Wrist angle: Your wrist should stay close to neutral, not bent upward or downward. Pressure on the underside of your wrist means the mouse is too tall or your desk height is wrong.
- Thumb reach: Your thumb should rest on the side without stretching. Buttons placed too far forward force you to shift your grip.
- Finger curl: Your fingers should rest on the buttons without curling to reach them. If you are stretching, the mouse is too long.
Watch out: a mouse pad with a raised gel wrist rest can encourage you to rest your wrist while typing, which compresses the carpal tunnel. Use the rest during mouse work only, and keep your wrist neutral rather than bent back over the pad.

Pair the mouse with the right surface
Your mouse pad affects both tracking and comfort. The AIDATA OMP002 MOUSE PAD is an ultra-thin option priced at LBP 3. The AIDATA GL006 MOUSE PAD is a gel economy model at LBP 10.
A mouse pad matters more than many designers expect. Pair the right pad with your mouse, and check how the setup feels after an hour of work. For a broader look at workstation setup, see our ergonomic office setup guide.
Step-by-Step: Testing a Mouse Before You Commit
- Check your current setup. Note your typical session length and the tasks you run most.
- Test grip and shape. Hold the mouse in your usual grip for ten minutes of simple drags.
- Test precision. Trace shapes in your design app at a few DPI settings.
- Test the connection. Move quickly across the screen and look for any lag or dropouts.
- Test the buttons. Confirm that the side or extra buttons sit where your thumb reaches without strain.
- Decide after a week. Use the mouse on real projects before you judge it.
Pairing Your Wireless Mouse With the Dabbous Range and Next Steps
Once you have chosen a mouse, pair it according to its instructions. For a 2.4 GHz model, plug in the USB receiver and power on the mouse.
Pair your mouse with a mouse pad that matches your workspace. Browse our wireless mouse range and accessories to find a combination that fits your design work. Dabbous Mega Supplies has served Lebanon since 1952 with fast delivery across the country.
Frequently Asked Questions
What features should a wireless mouse for graphic design have?
Look for accurate tracking, adjustable DPI, a comfortable shape for long sessions, and a connection that stays stable while you work. Programmable buttons help if you switch between design software often. Battery life and a rechargeable or easily replaced battery matter too, because a mouse that dies mid-project wastes time. The Logitech M170 is one wireless mouse option to consider, and a mouse pad gives your hand a smooth surface.
What DPI is best for graphic design?
Most designers do well with a DPI setting that lets them move precisely across a large canvas without overshooting small details. Lower DPI gives finer control for pixel-level work, while higher DPI helps you cross a dual-monitor setup quickly. A practical approach is to set a medium value, test it in your design software for a week, and adjust. Adjustable DPI is the feature to prioritise here.
Is Bluetooth or a 2.4 GHz receiver better for a design mouse?
A 2.4 GHz USB receiver usually gives a more stable, lower-latency connection, which suits precision work. Bluetooth frees up a USB port and works well with laptops, though it can drop out or lag if the environment is crowded with wireless devices. If your desk is busy or you need reliable cursor control for long sessions, a 2.4 GHz receiver is the safer choice. Check your model's specifications before buying, since some mice support both.
How long should a wireless mouse battery last?
Battery life depends on the mouse model, how often you use it, and whether it runs on a replaceable battery or a rechargeable one. A good design mouse should last several weeks to months on a single charge or battery under typical office use. Look at the manufacturer's stated battery life, and prefer models with an on/off switch, which helps preserve power when the mouse is not in use. Keep a spare battery on hand if you choose a replaceable model.
Choose the mouse and pad that match your hand and your workload, then test them for a full week before deciding. Shop the full mouse and mouse pad range at Dabbous Mega Supplies and get your design workspace set up today.


